Currently unavailable as a 1-Click install on the BoxToPlay panel, Ragnamods VI has an unconventional method for retrieving server files, which requires some manipulations on your local machine before uploading the files to your server, here is the procedure to follow.
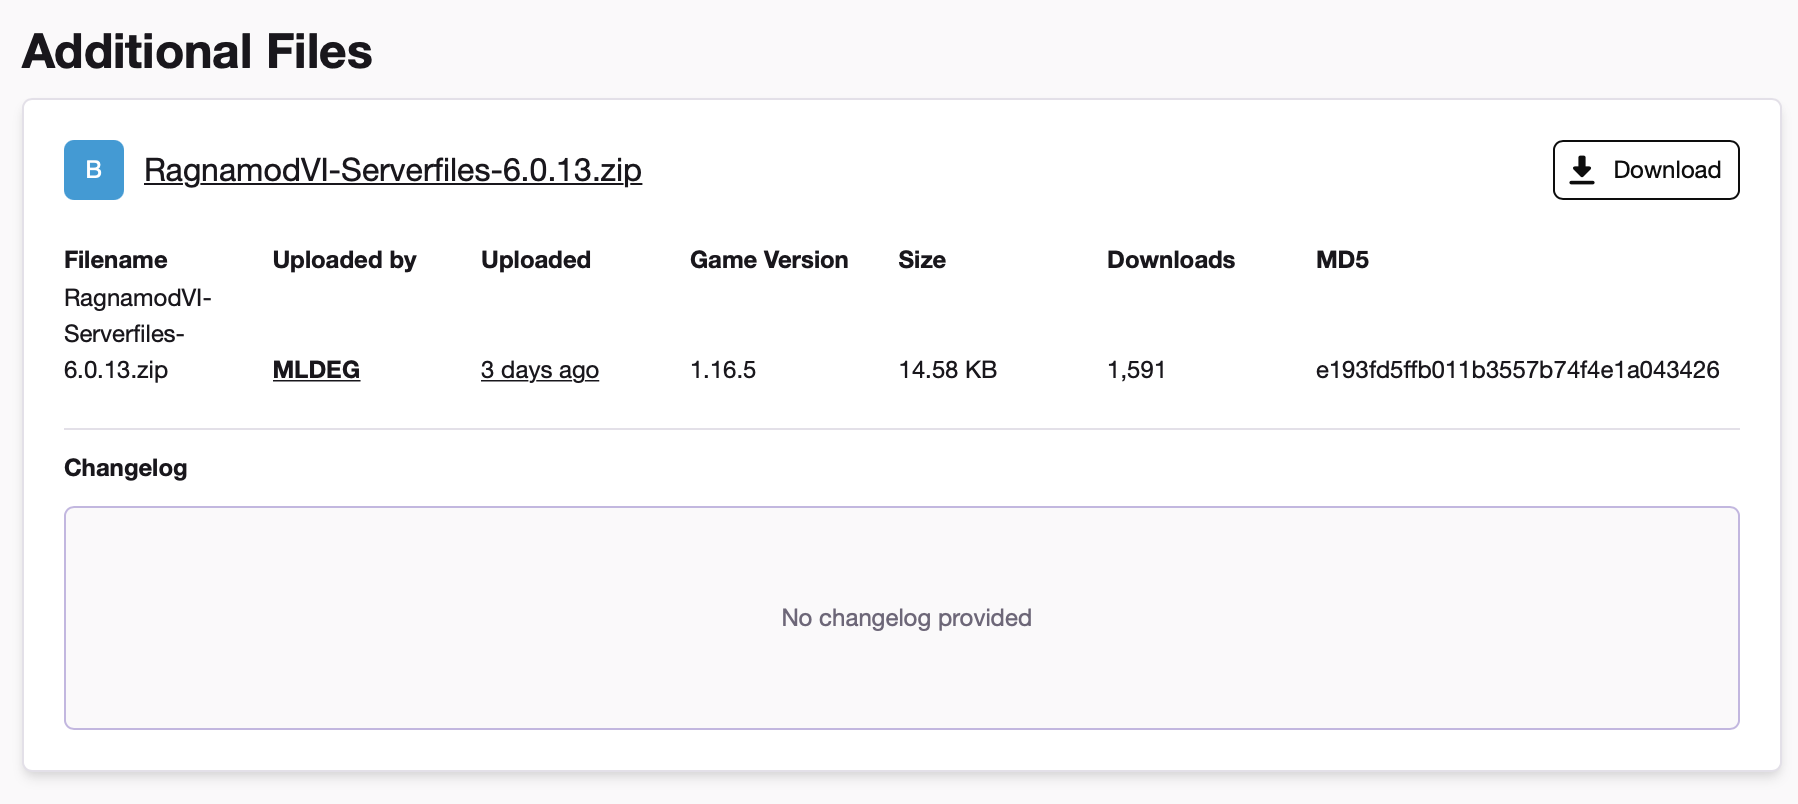
- First go to the CurseForge page Ragnamod VI, access the « Files » tab and then download the specific .zip archive for servers. (Look at « Additional Files », it contains « Serverfiles » in its name).
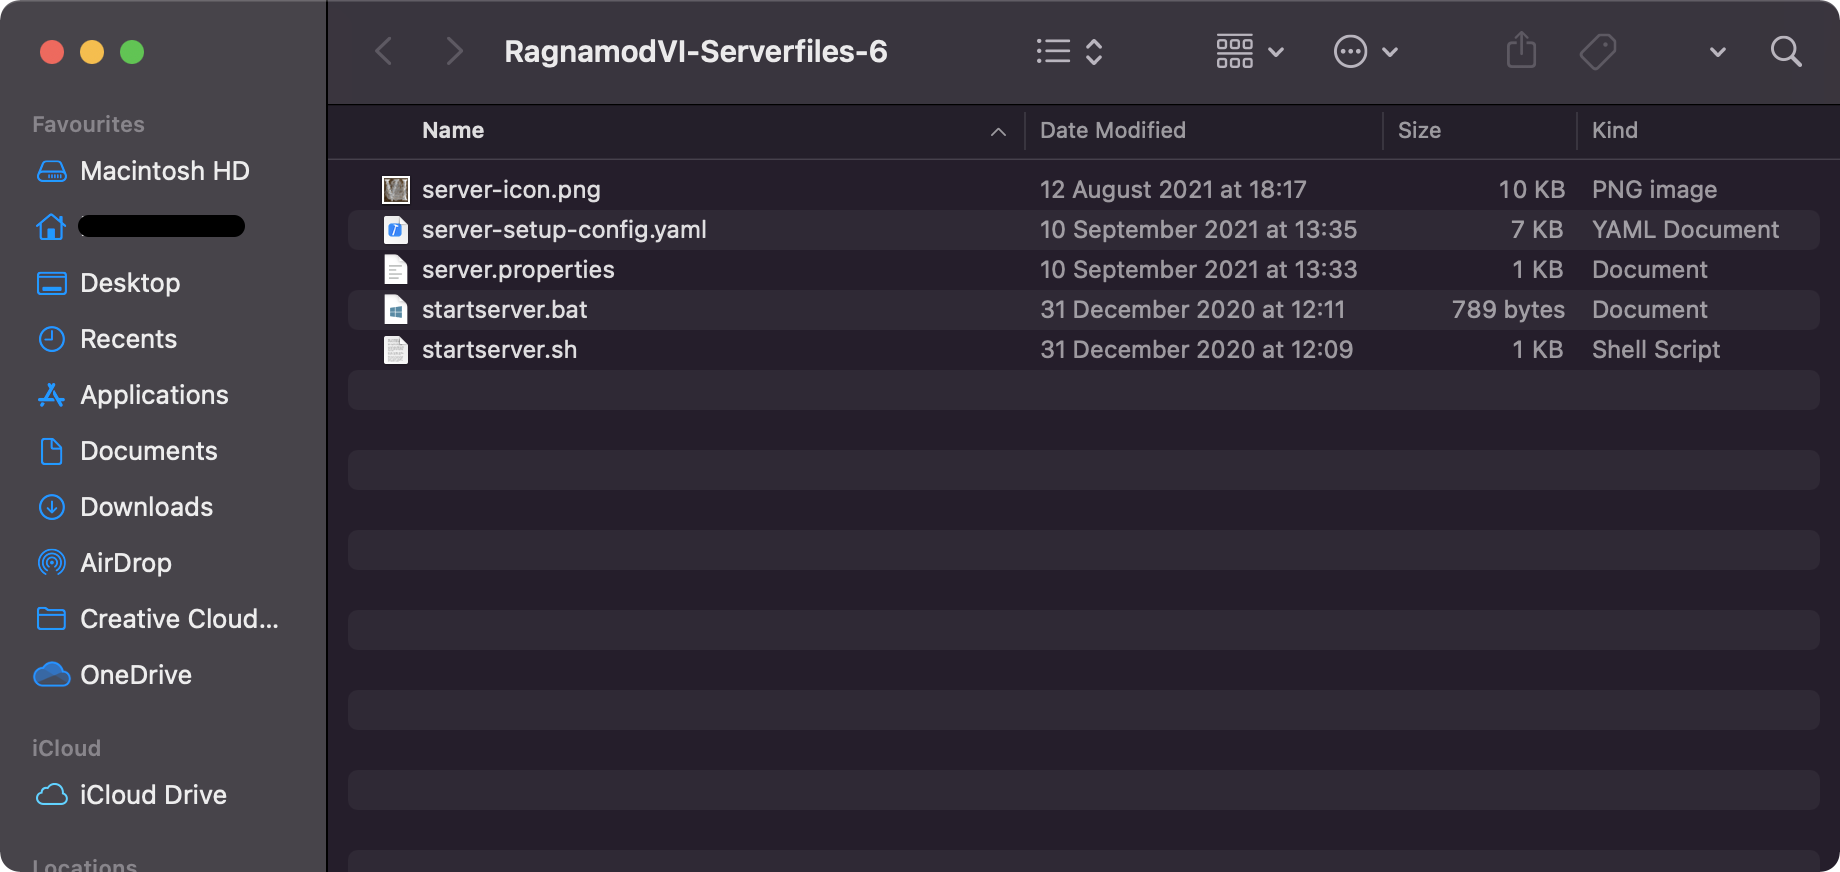
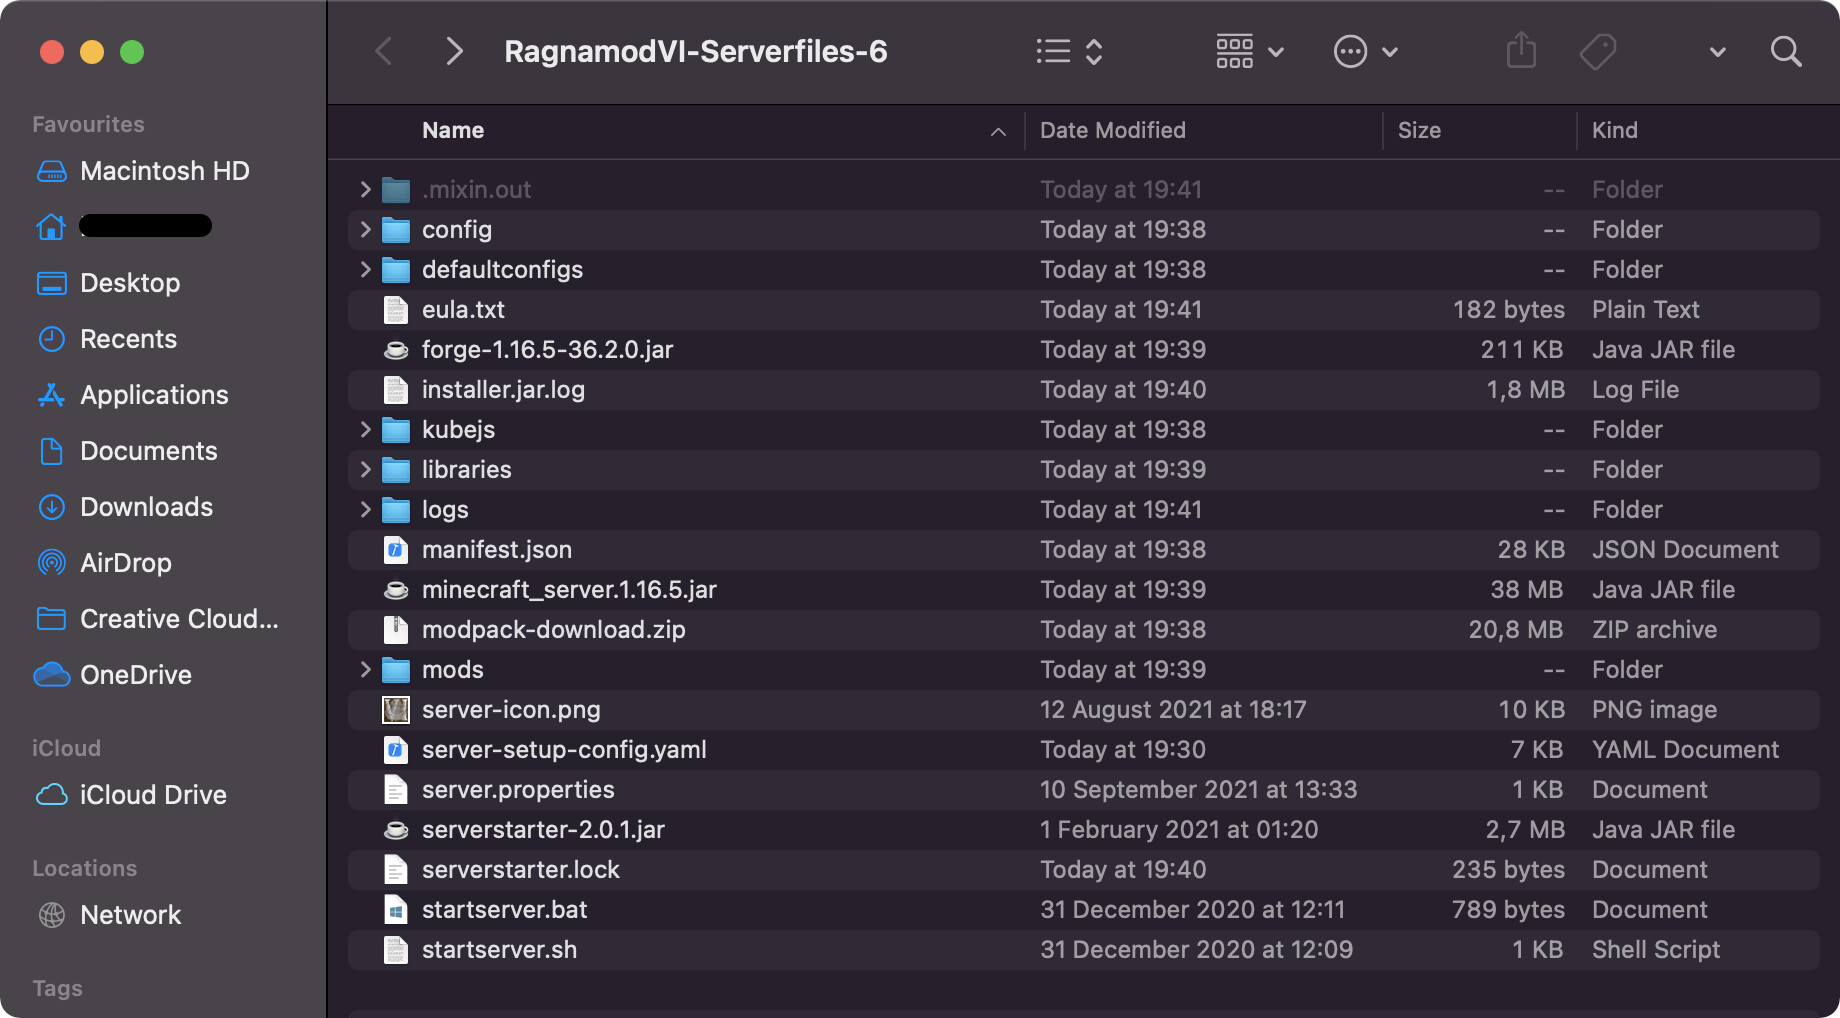
- Unzip the archive into a folder on your desktop, you should have the following files
Windows: Run the file startserver.bat, the command prompt will open and the Ragnamods download script should run automatically.
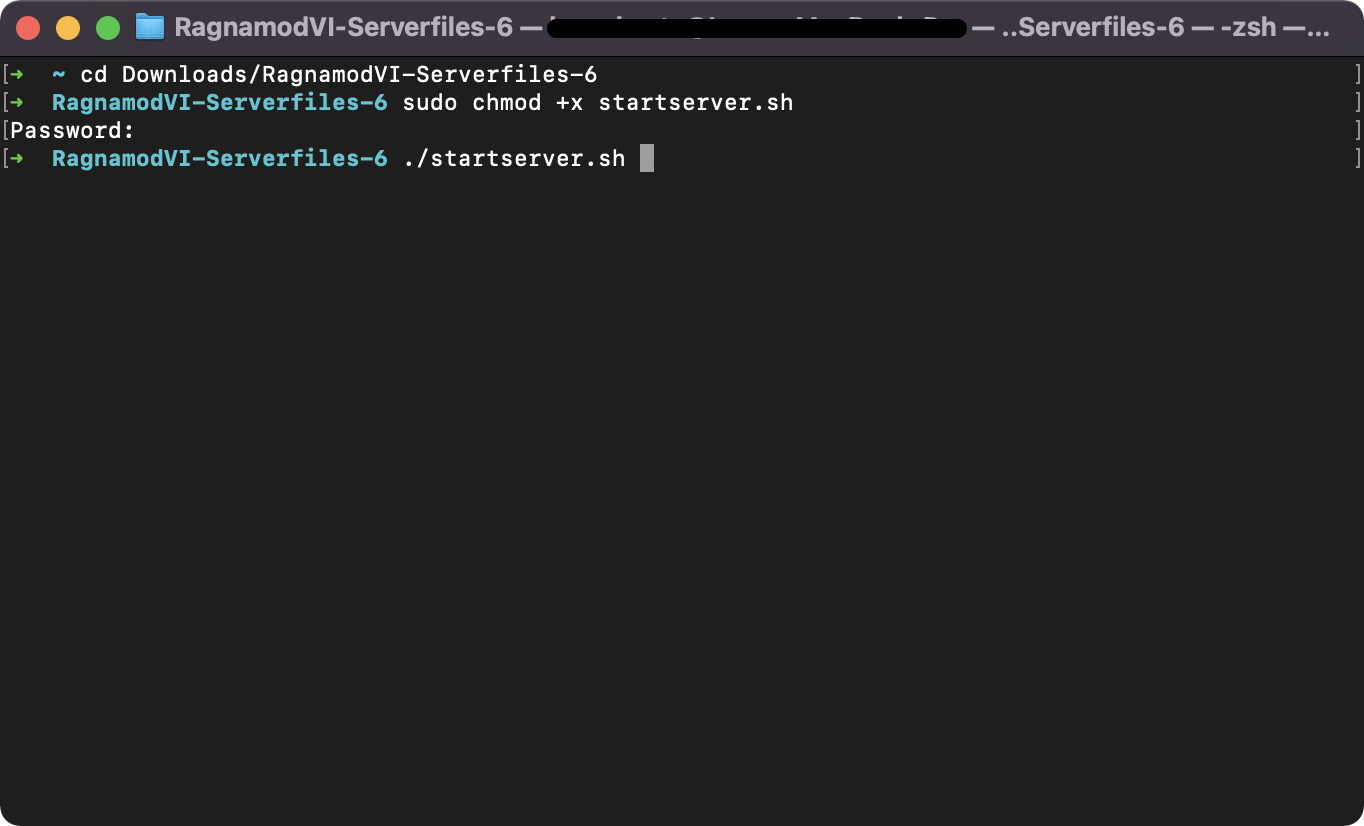
Unix-based (Linux/macOS): Open your terminal and move to the Ragnamods directory (with « cd » command). Then change the permissions of the startserver.sh script in order to execute it with the following command:
sudo chmod +x startserver.sh
Then run the script with :
./startserver.sh
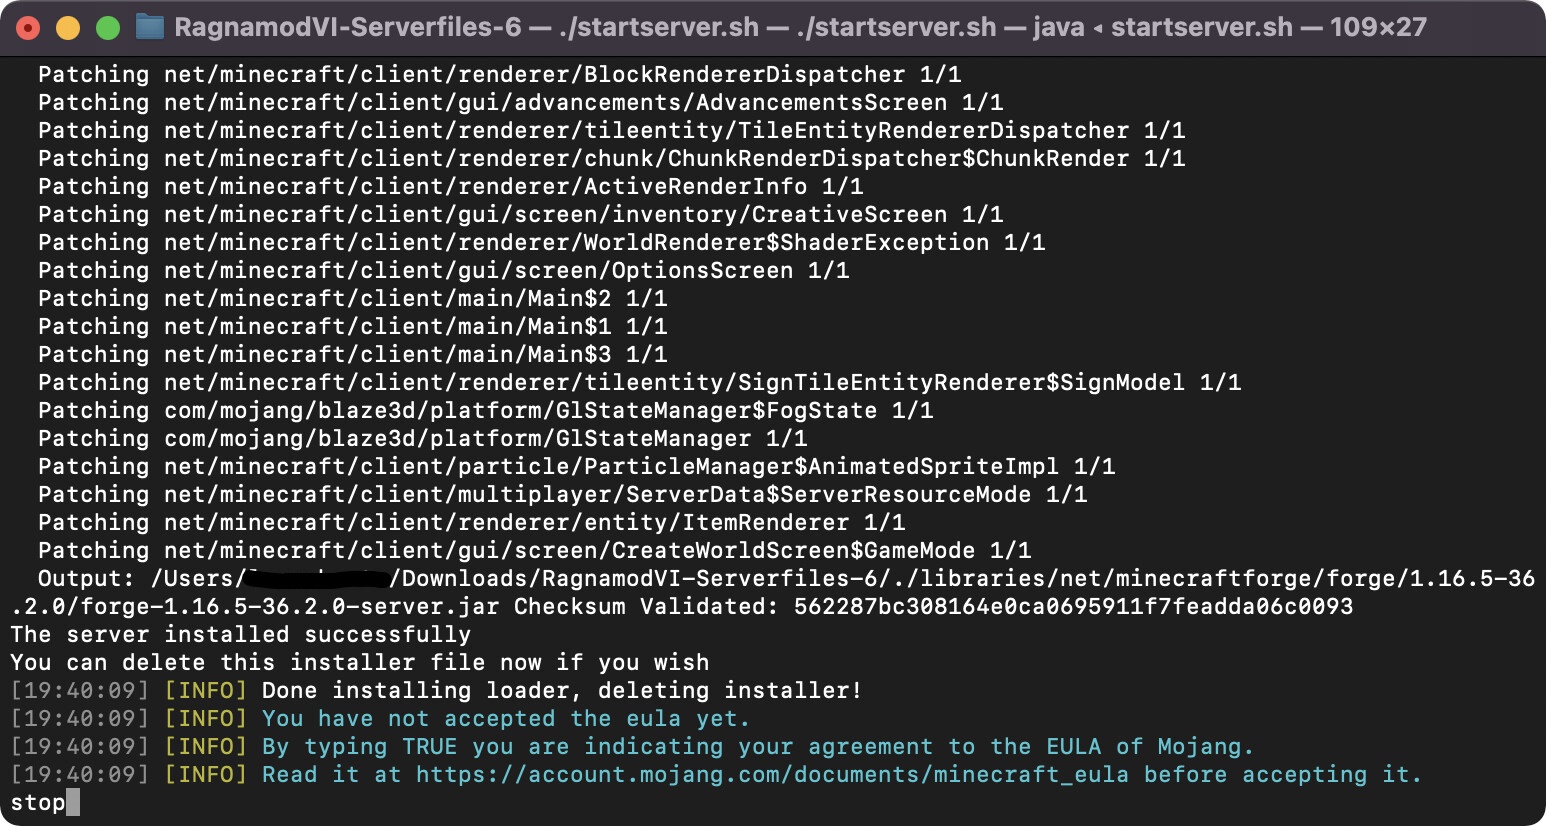
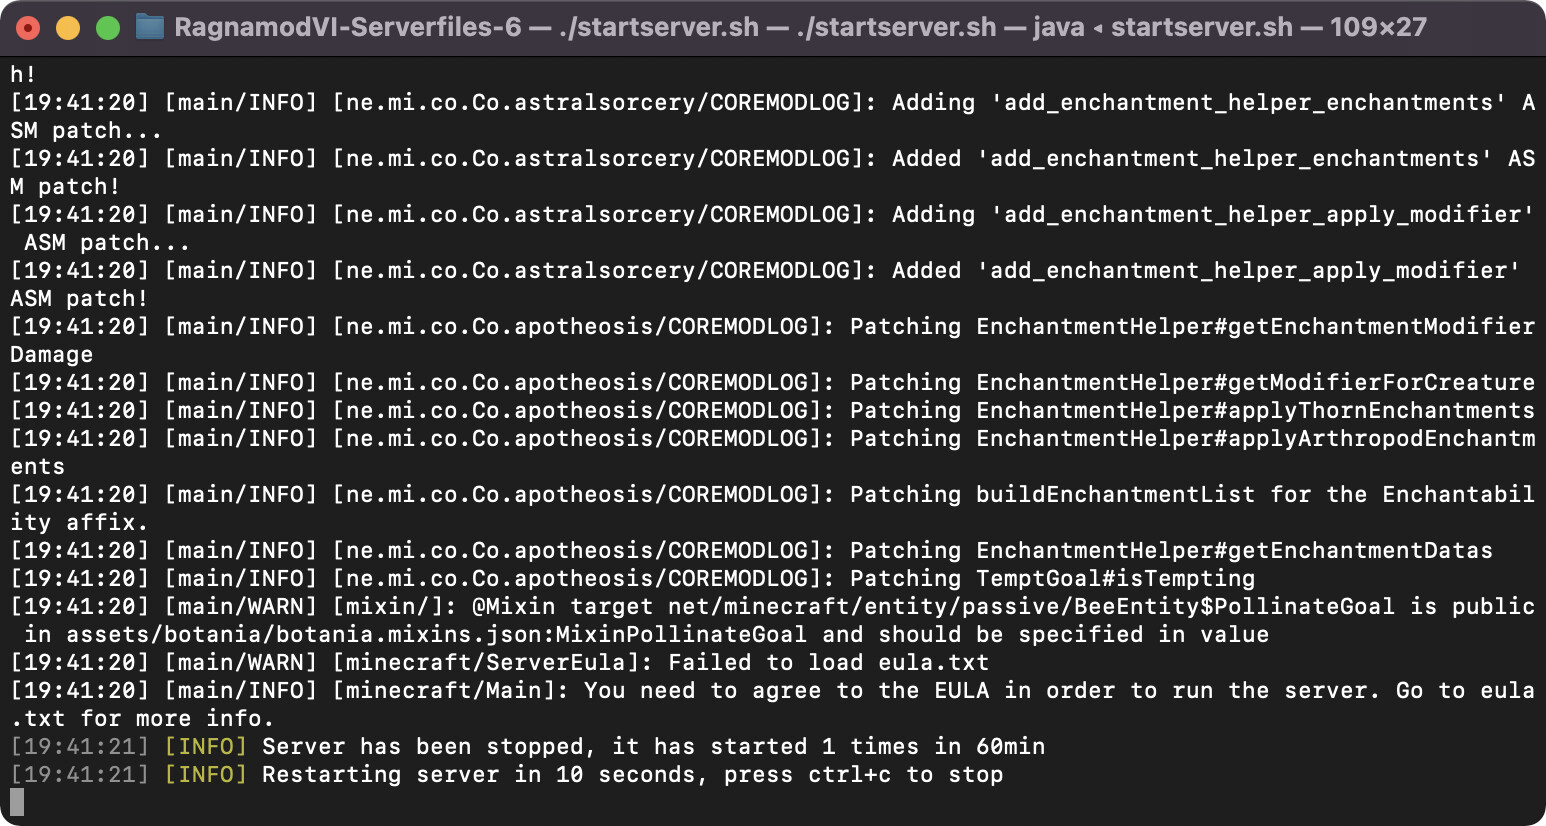
- Once the upload of the server files is finished, the script will ask you to accept the EULA (because it wants to start the server right away). Starting the server now would only generate more files to upload later on FTP and therefore a longer upload time, especially for small connections. So I advise you to type the command « stop » directly in your terminal to finish the installation here.
- Wait a few moments for the script to finish its operations and press Ctrl + C when you’re invited to close the terminal.
- If the installation was successful, you should now have the following files in your directory.
- If you already have an FTP account and know how to use Filezilla, go to step 10.
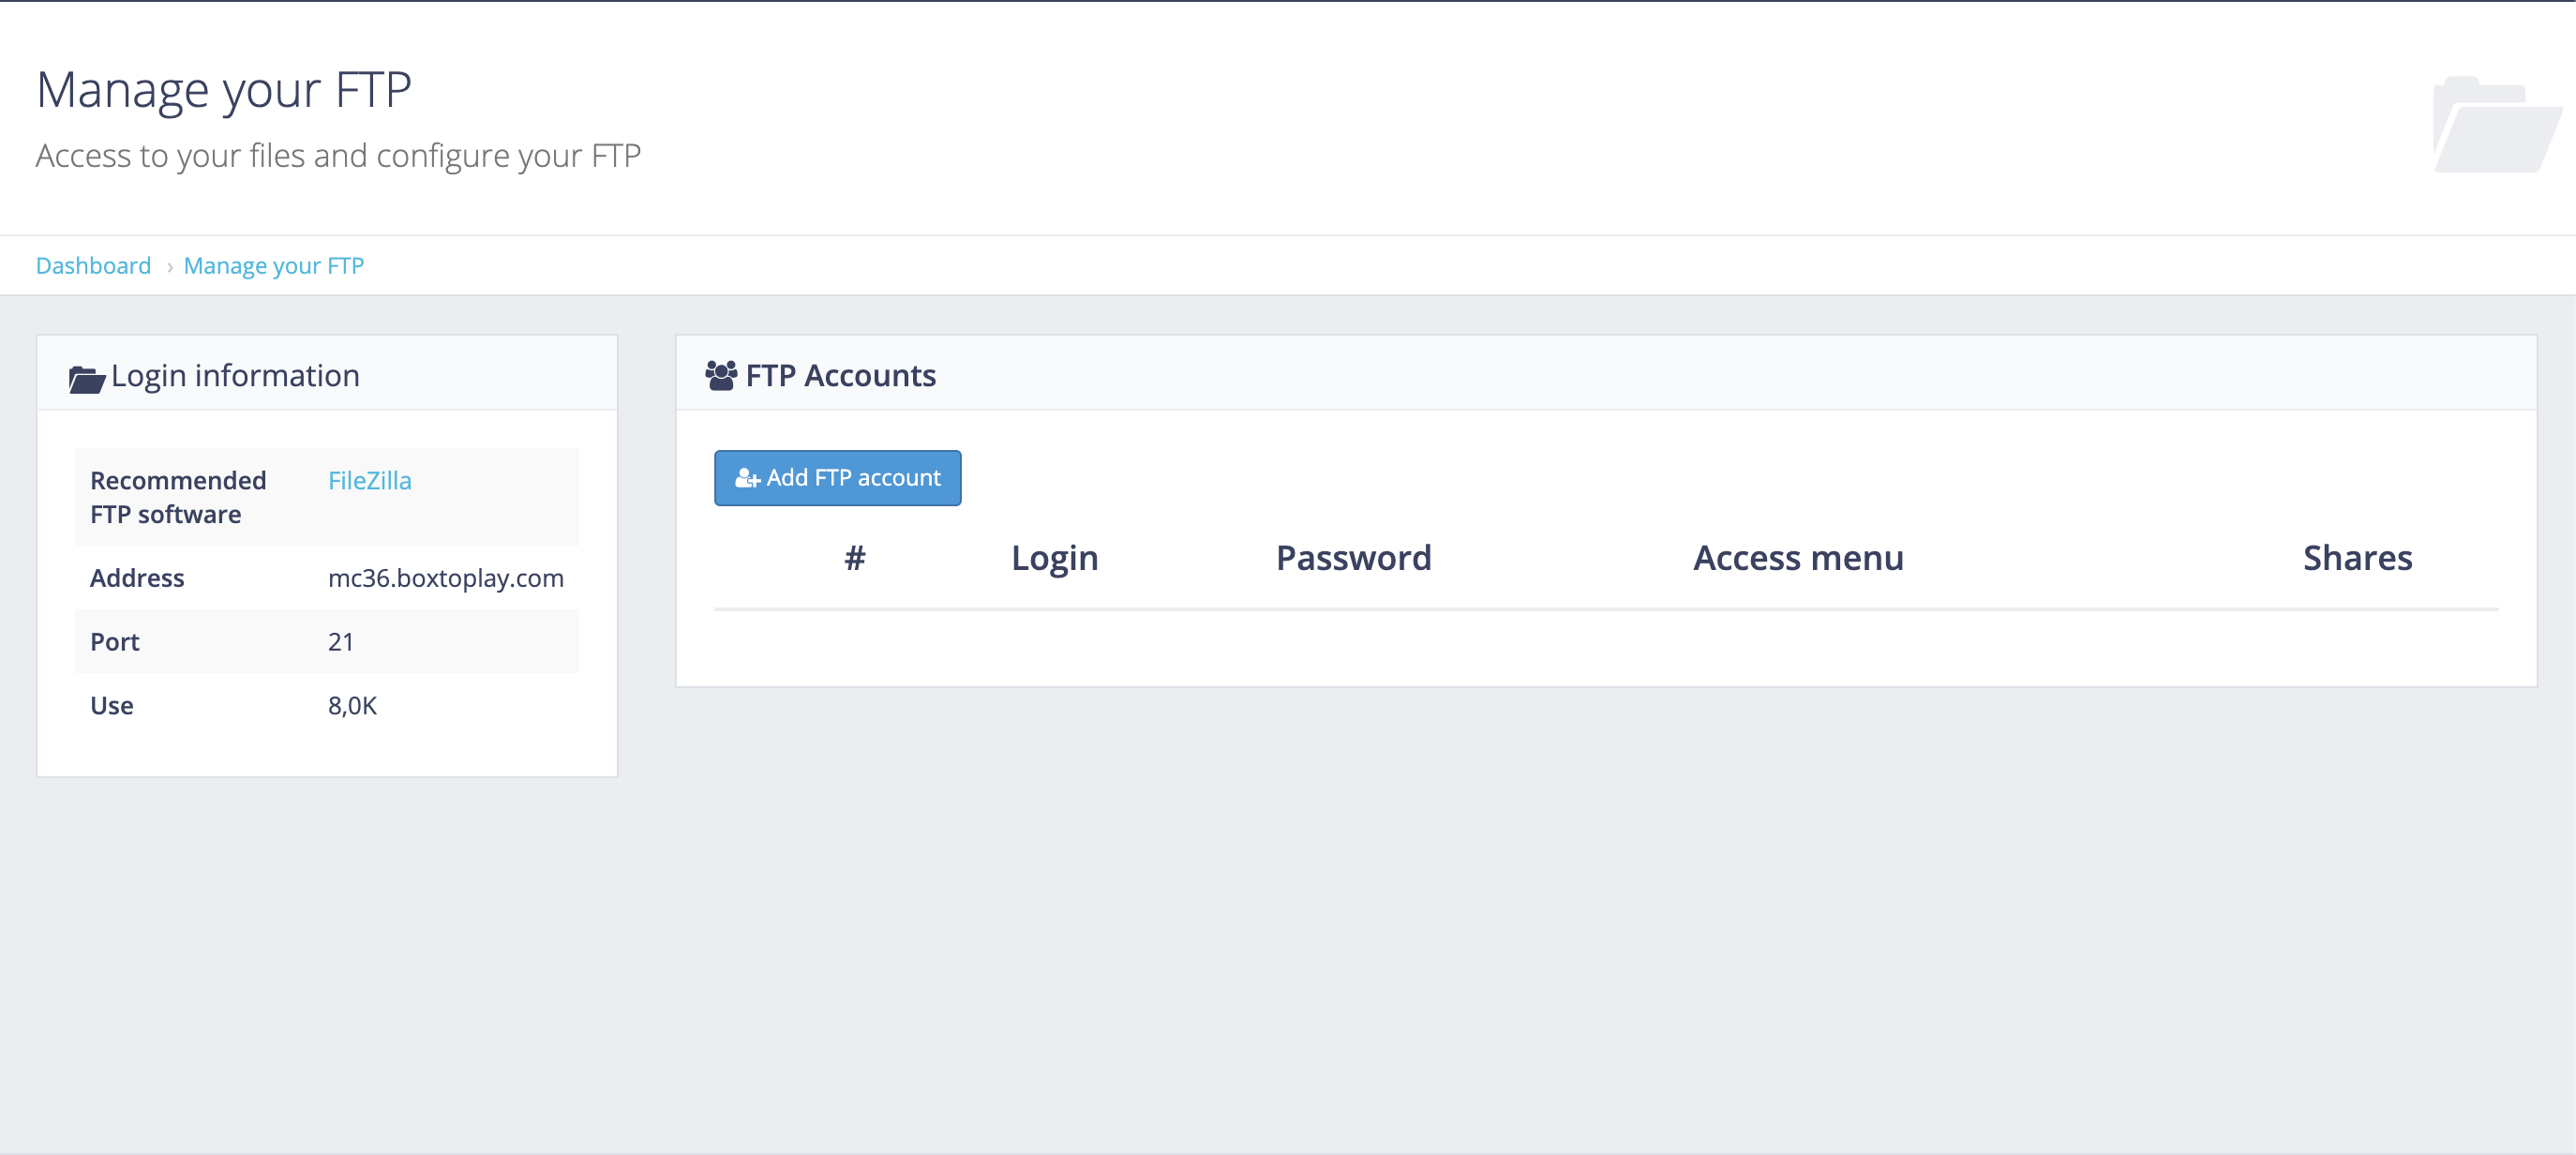
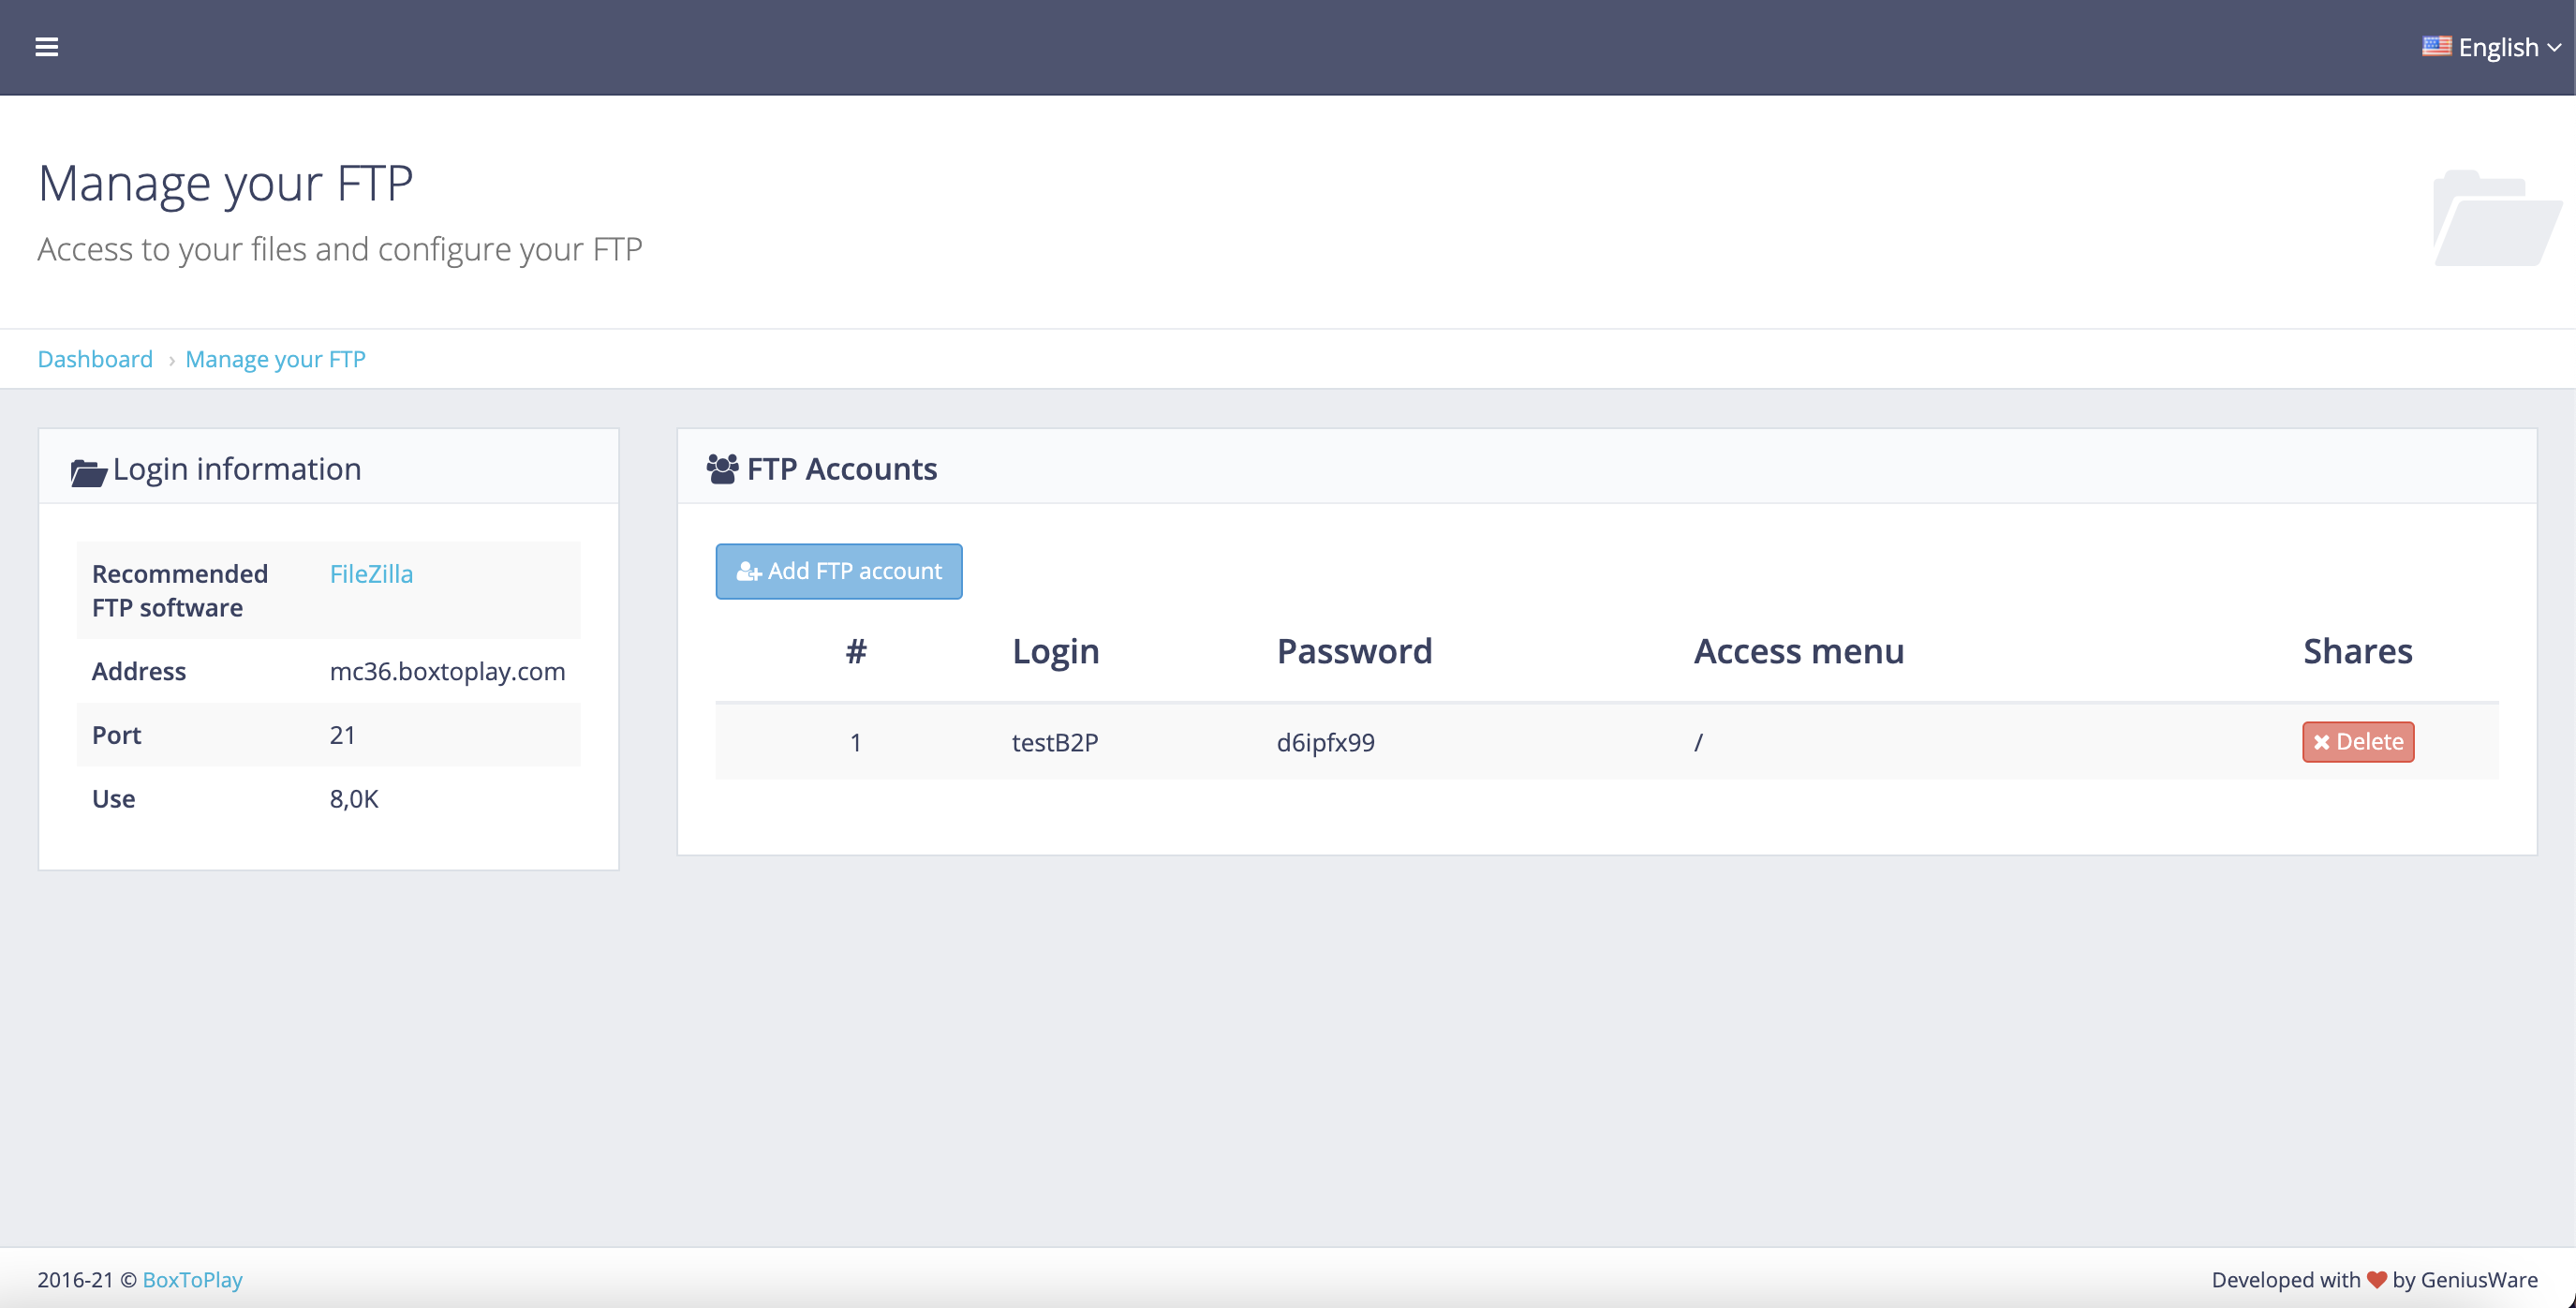
Go to your configuration panel and then to the « File access (FTP) » tab. Then create an FTP account by entering the username and password of your choice, keep the default access directory to root (« / »).

-
Download FileZilla and install it. This will allow you to access the directory of your BoxToPlay server.
-
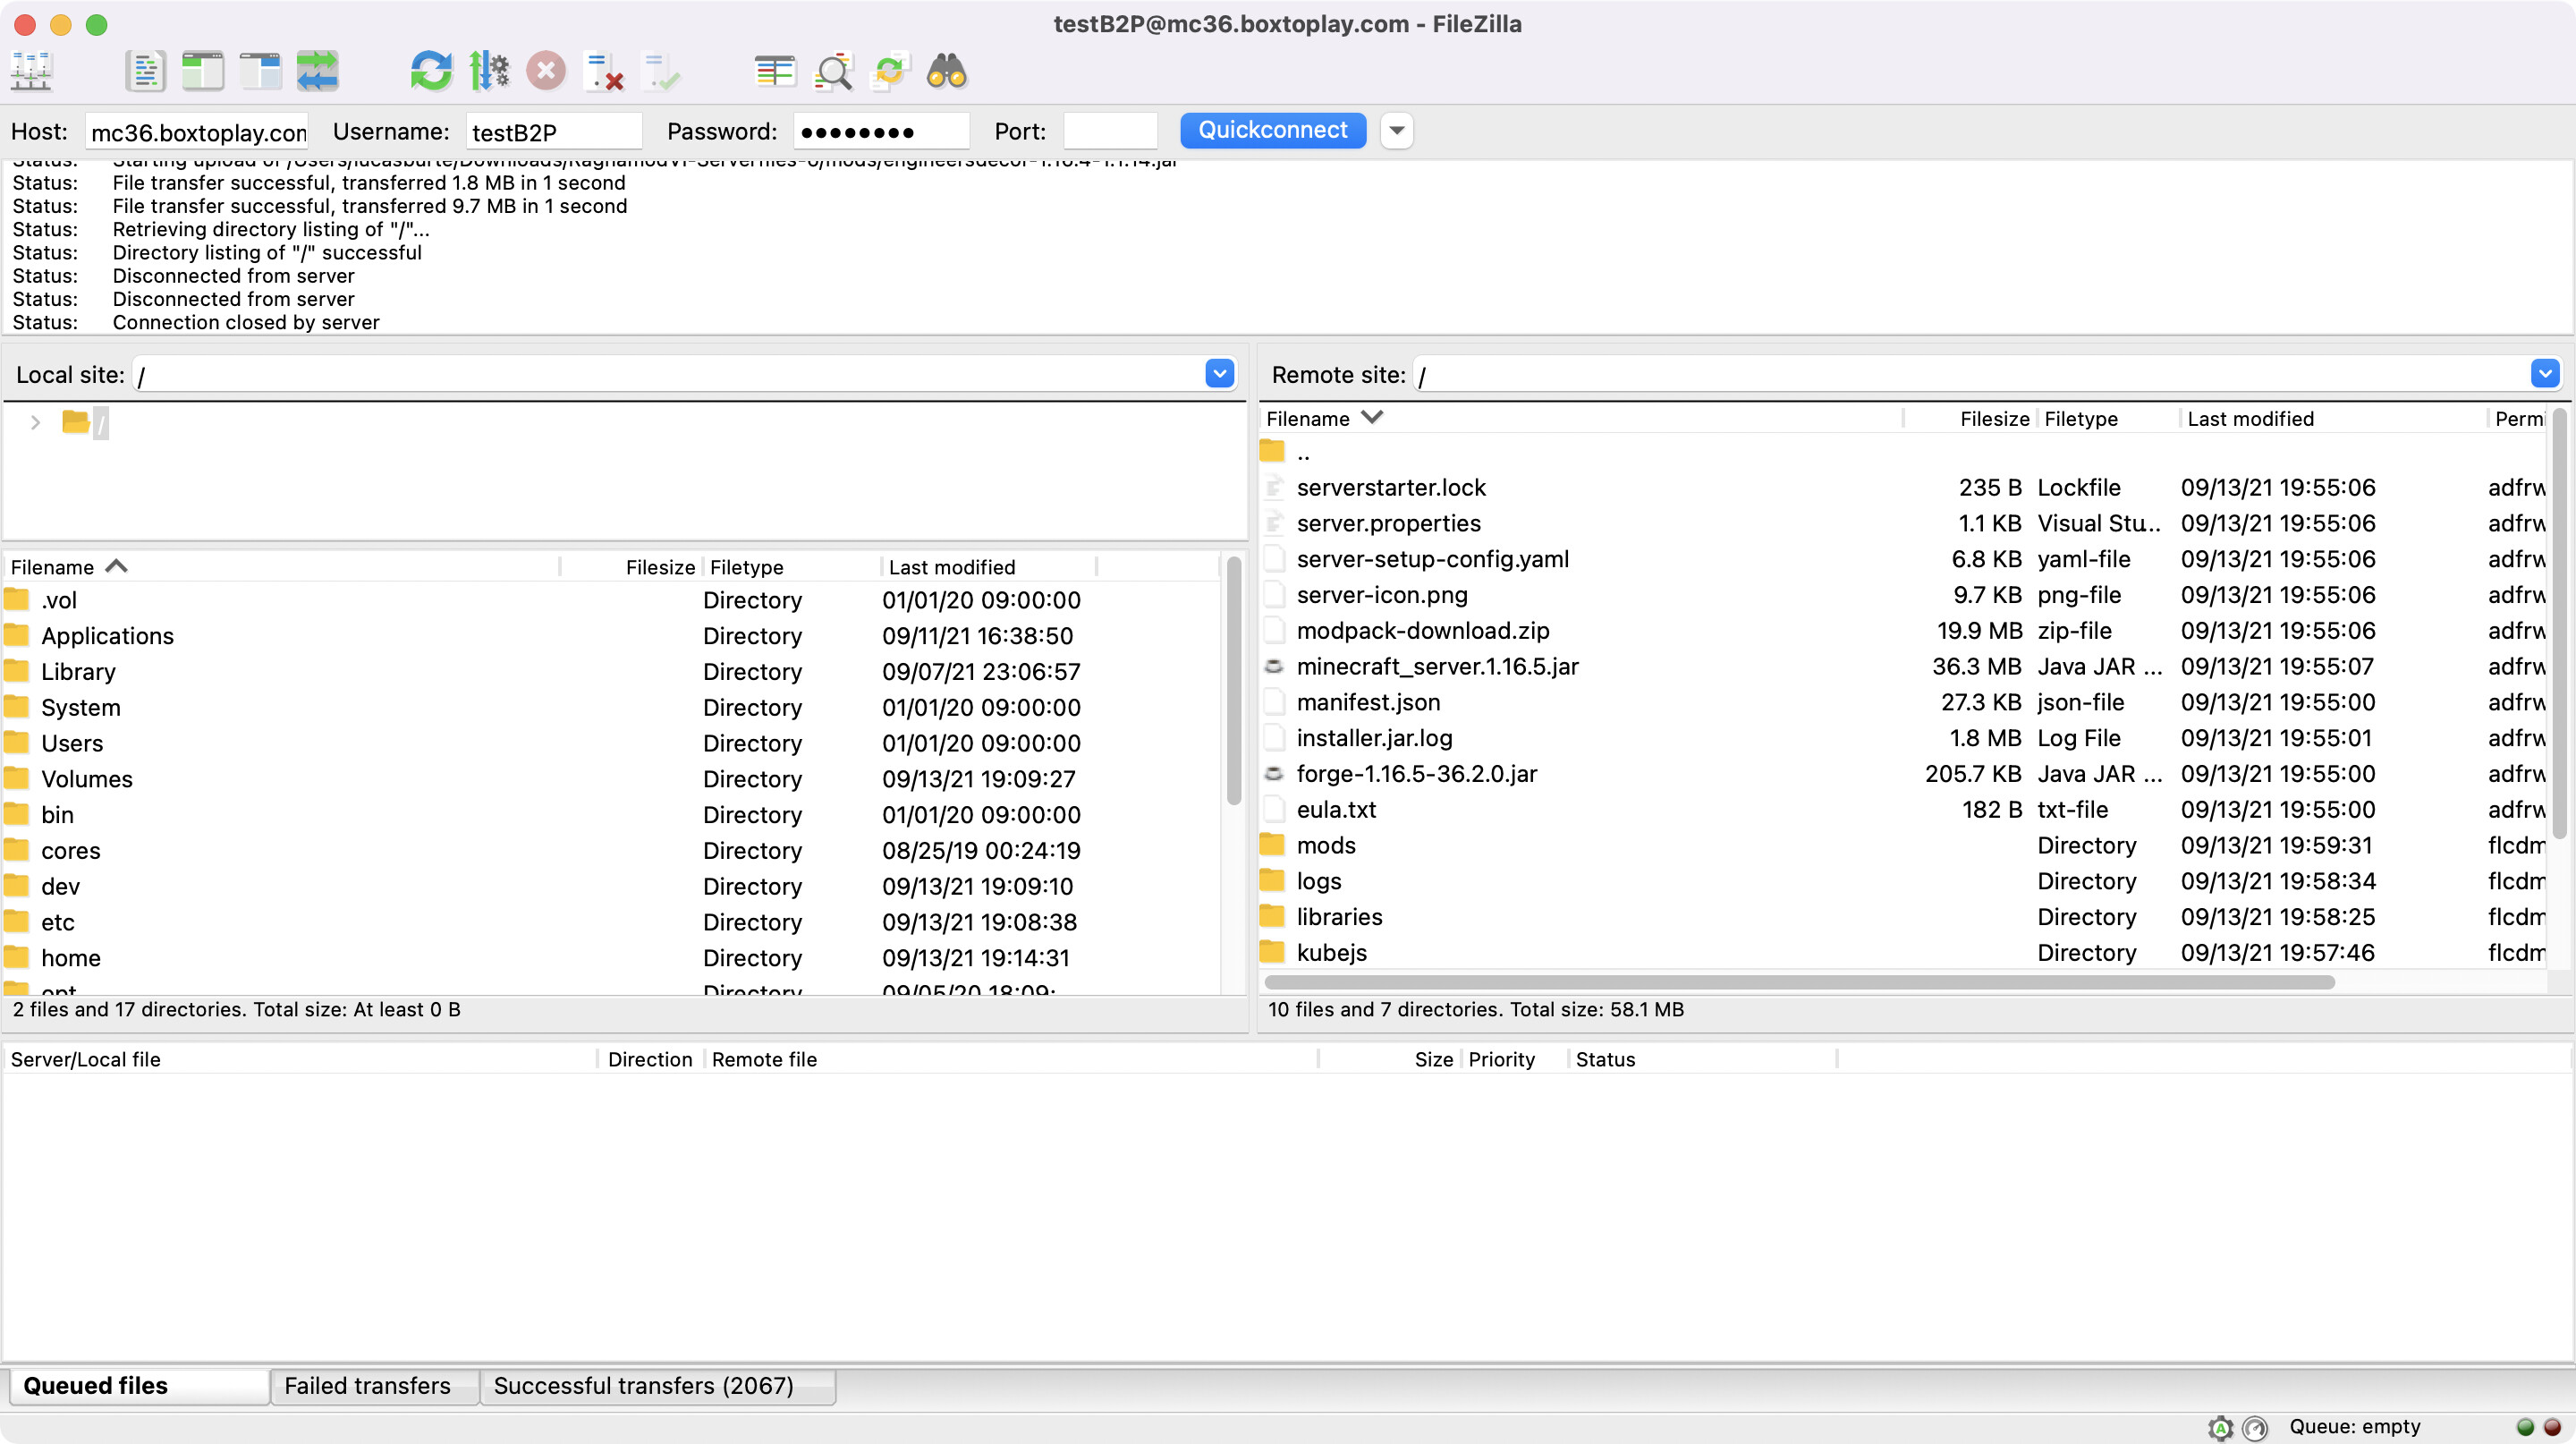
Open the software and fill in the top fields with the login information for the FTP account you just created and click on « Quickconnect ». (Additional information such as the host and port are available on the same tab on your panel « File access (FTP) »).

- Delete all files already present in the FTP directory (you can download a backup of your server directly from your panel). Then upload (drag and drop) all the files generated by the installation script into the FTP directory (except for the startserver.sh, startserver.bat and serverstarter.jar files)
-
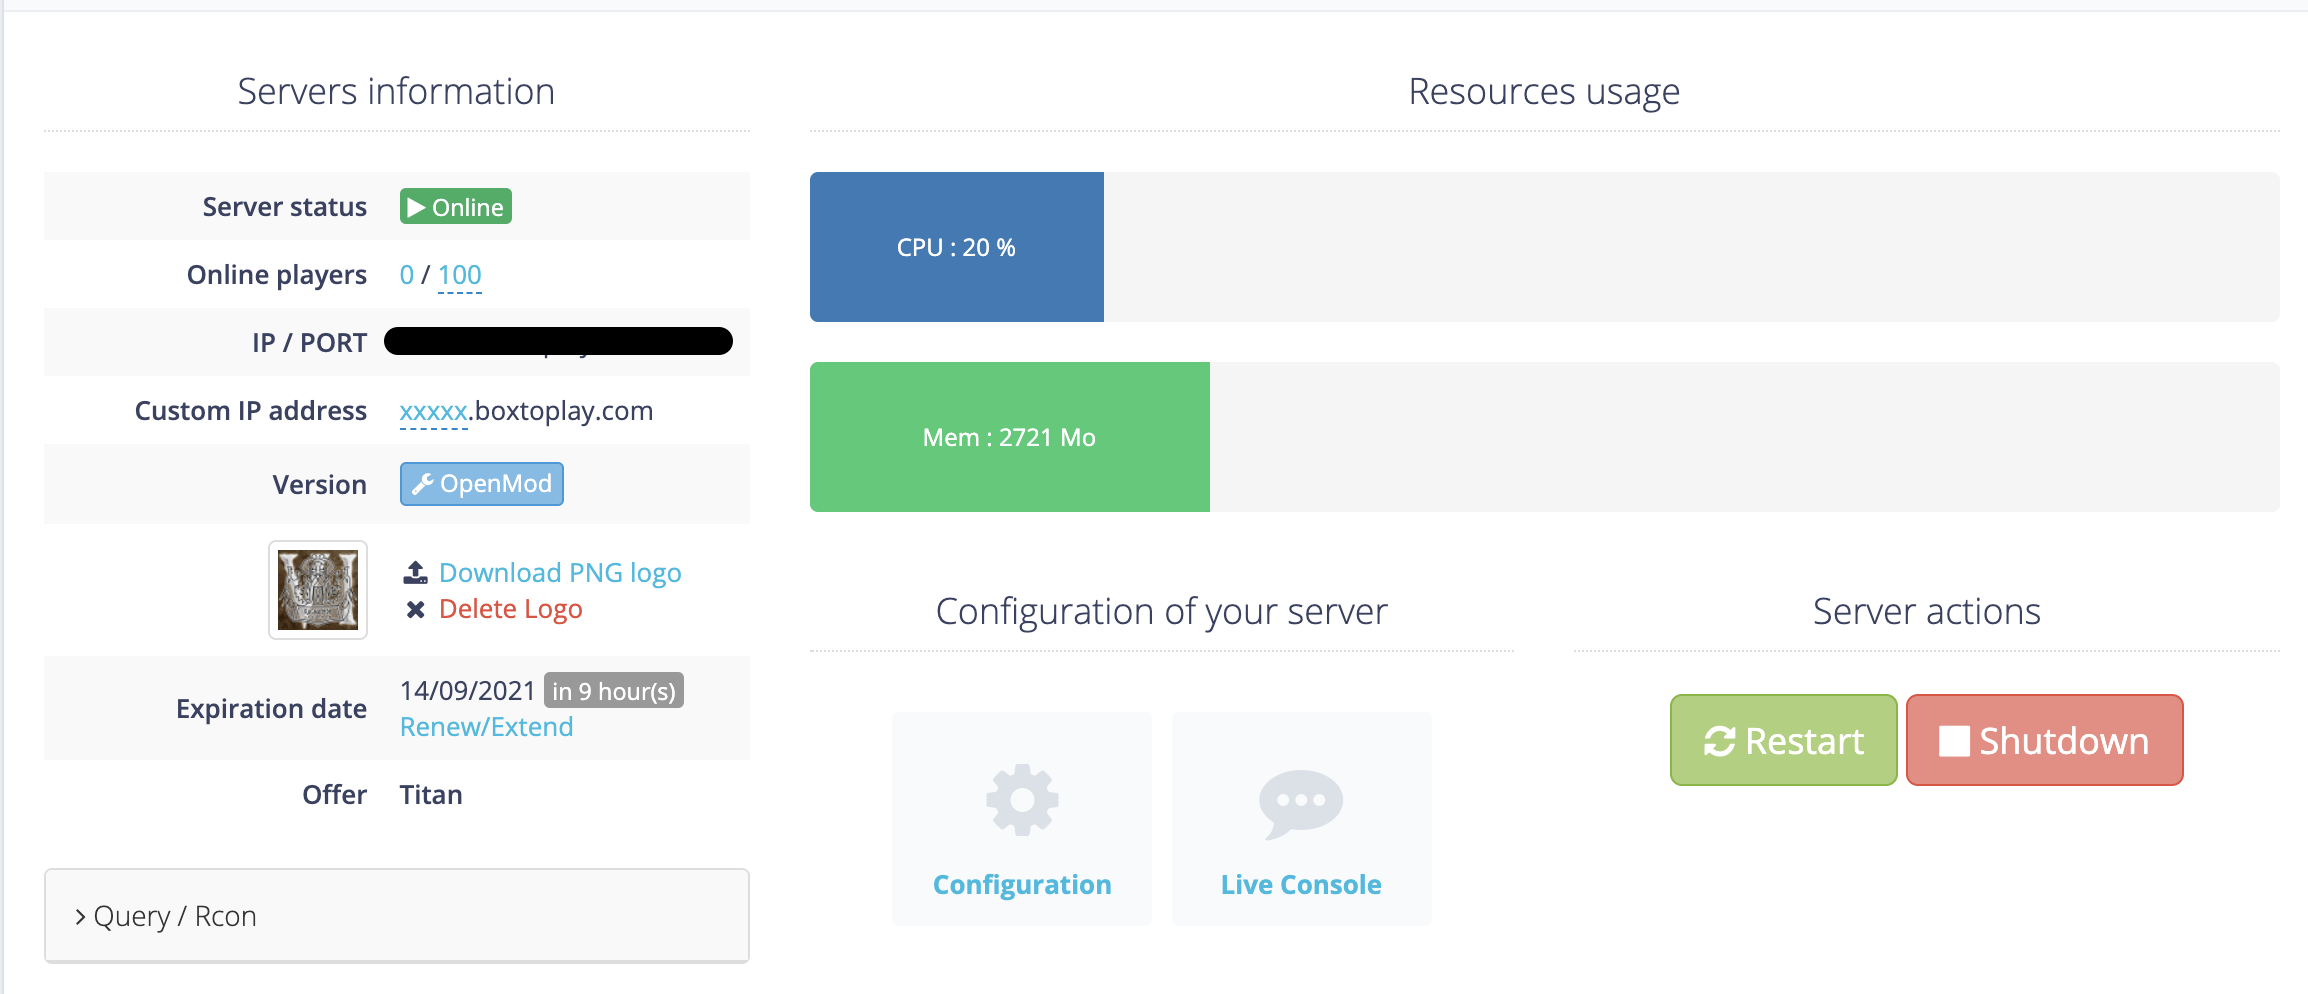
Once the transfer is done, go back to your panel then access the « Modpacks » tab and activate the Openmod option, make sure that the .jar forge is selected and not the minecraft_server.jar.
-
Then start the server and you’re done!

(NB. The first start of the server may take some time)
Feel free to contact us on Discord or support ticket if you have any questions! ![]()