Hello everyone!
We are pleased to announce that BoxToPlay now offers the Azuriom CMS, ready to be configured for your game servers. Azuriom is a powerful and easy-to-use solution for creating and managing your game server website. In this tutorial, we will guide you through the installation of Azuriom on your web hosting included in BoxToPlay’s Titan and Leviathan Minecraft offer.
Step 1: Prepare your hosting space
Access your BoxToPlay panel:
- Log in to your BoxToPlay account.
- Select your server with the Titan offer.

Create a web hosting:
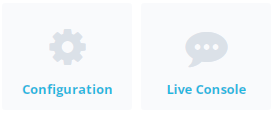
- Click on Configuration in the left column.
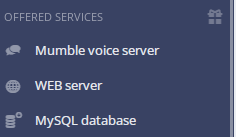
Scroll down to find Web Server.
Create a password for your FTP Web access and enter your site URL (you can choose a subdomain).
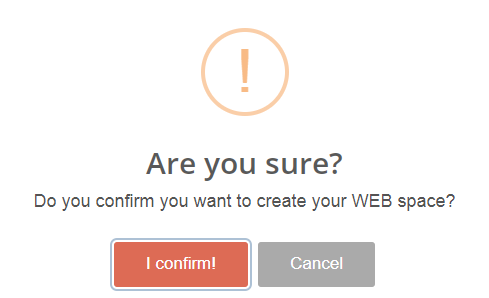
Validate and Confirm.
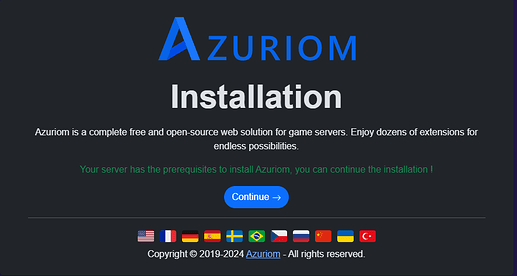
Click on your site URL to access the Azuriom configuration page.
![]()
Follow the installation steps:
- Choose your language and click Next.
Step 2: Create a MySQL database
Access your MySQL panel:
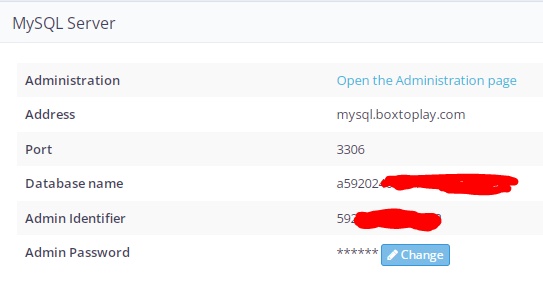
- Click on MySQL Database in the left column.
![]()
- Enter your database admin password and click Activate my database.
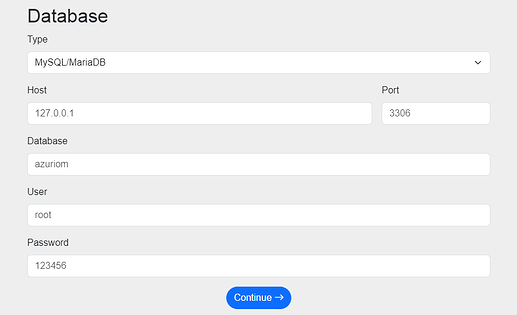
- Note the connection information (address, port, database name, admin username, admin password) as you will need it for the Azuriom installation.
- Enter this connection information on the Azuriom installation page.
- Set up your admin account to access the Azuriom administration panel.
Complete the installation:
- Once all steps are completed, click Finish installation.
- You will be redirected to the administration panel where you can start configuring your site.
Congratulations! You have successfully installed and configured Azuriom. You can now enjoy all the features offered by this powerful CMS to manage your player community. If you have any questions or need assistance, feel free to contact our support.
Thank you for using BoxToPlay!
